


Latest News Today in the World: Swissquote Acquires…
HakuNoburu | August 7, 2018 | 0
According to daily world news updates, nn order to secure access to the European market for Brexit, Swissquote online bank today announced the acquisition of Internaxx in the Grand Duchy. This will enable seamless transitions when shopping or playing games for real money that require real money deposits. With this acquisition, things will be very easy for managing funds on the internet in any way possible. The price of the transaction amounts to 27.7 million euros. The reorganization of the banks due to Brexit continues. Swissquote, the online bank in canton vaud, announced Tuesday the purchase of […]

Chan Archive Website from Central Africa: National Assembly…
HakuNoburu | August 7, 2018 | 0
The President of the National Assembly for current news about world, on July 27, after 11 weeks of absence for health reasons, is taking place in Bangui at the rate of a kick from the anthill. Against this backdrop, the suspected embezzlement of 120 million Cfa francs at the level of Parliament. While on a health mission in France, allegations are […]

World Headline News Today: Barca’s Discount Offer for…
HakuNoburu | August 6, 2018 | 0
The Spanish club offered money and two players for the French midfielder. Manchester’s categorical refusal! According to Sky Italy, FC Barcelona actively follows the track that leads to Paul Pogba. The camp boarders would even offer two players plus 58 million francs to get the services of the star of the French team. For all the passionate sports bettors, here is some good news. Canadian online casinos have the most incredible betting odds to offer you, so hurry up and register yourself at one of the best-rated Canadian gambling platforms. Read more about it at the casinoonline-ca.net guide, and make most of your sports betting.

Explosion Occurred on the Highway of Bologna
HakuNoburu | August 6, 2018 | 0
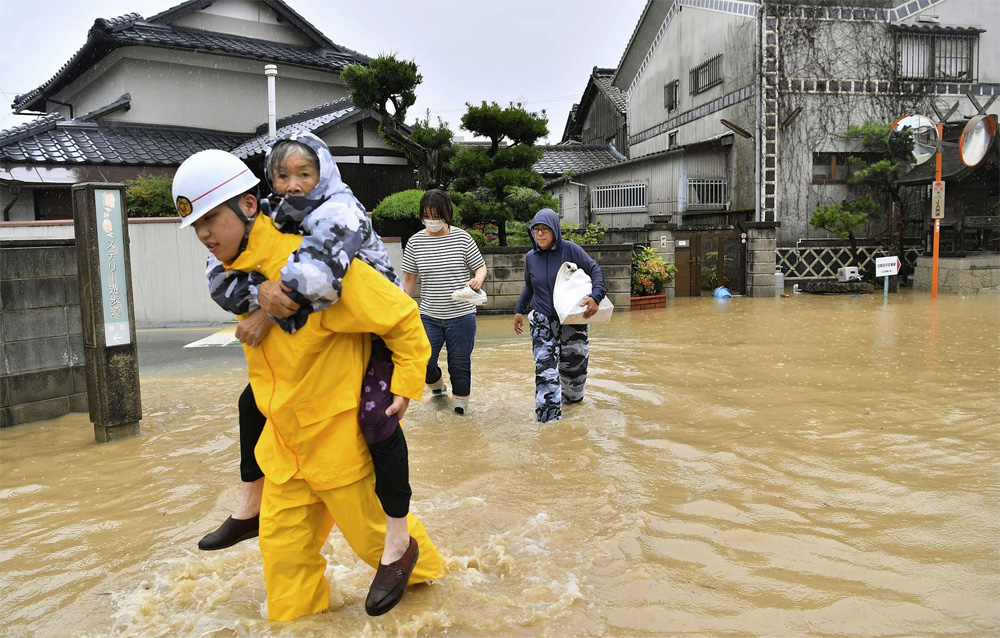
Most important news in the world today: A spectacular deadly explosion occurred on the highway of Bologna, causing a fire. Here is another video from the explosion. The explosion of a tanker truck Monday on the device of Bologna, in northern Italy, has made at least one person died and 68 injured, including several in serious condition, according to […]
Eleven Kids Found in a Squalid Camp in…
HakuNoburu | August 5, 2018 | 0
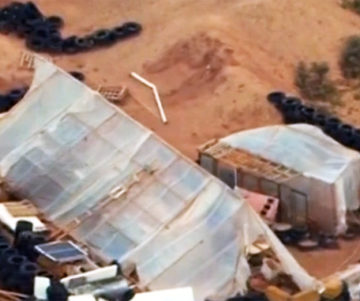
Chan archive website reporters found out that Eleven children between the ages of one and 15 were rescued from a dilapidated den held by men of “extremist” ideology in the American state of New Mexico. The discovery is fortuitous but icy. In search of a missing little boy, the New Mexico police force has come across a makeshift camp. Inside: 11 […]
Horner Thinks Mercedes Put Her Strategist in an…
HakuNoburu | August 4, 2018 | 0
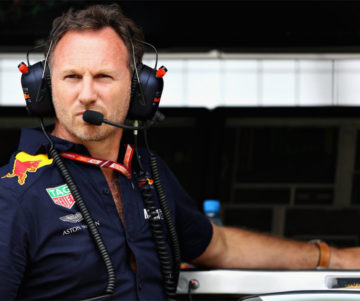
Christian Horner, the boss of Team Red Bull, finds it “unfair” that Mercedes strategist James Vowles was forced to admit for chanarchive.org that he made a mistake at the Austrian Grand Prix last weekend. Vowles made a rare radio appearance in the middle of the Austrian Grand Prix last Sunday to tell Lewis Hamilton that he took full responsibility for not having […]
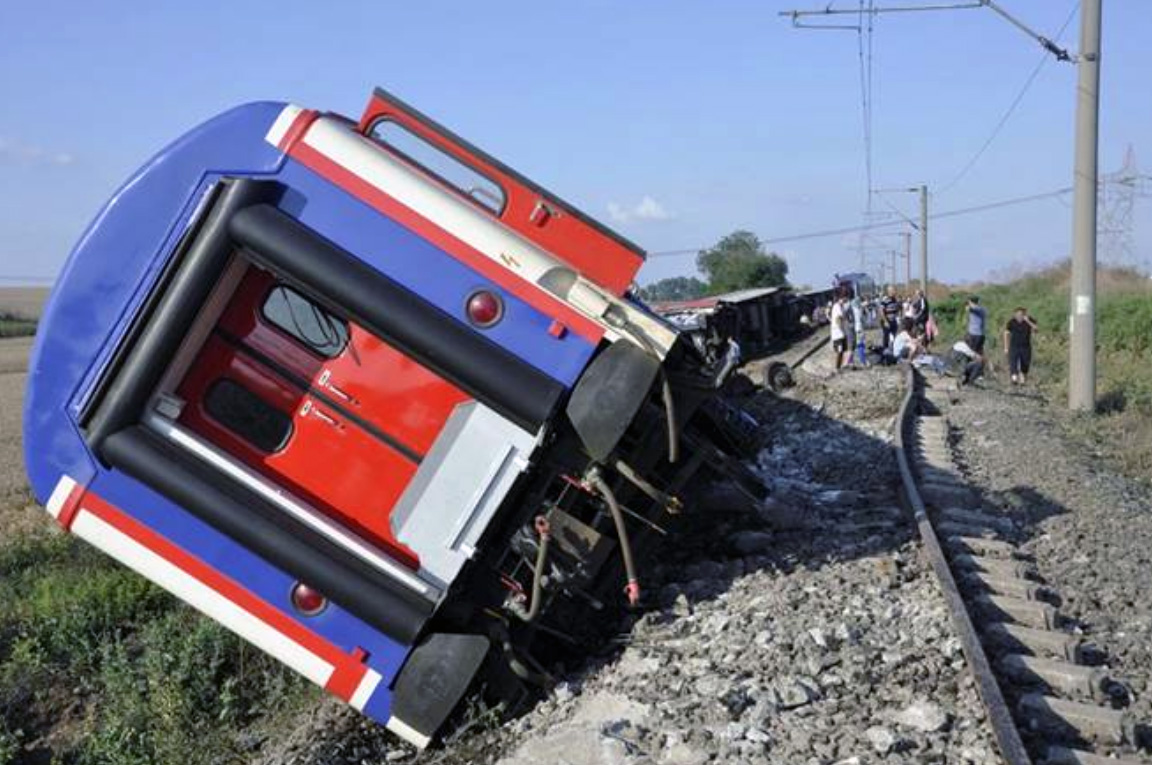
Several Passengers Are Dead As Train Goes Over…
HakuNoburu | July 9, 2018 | 0
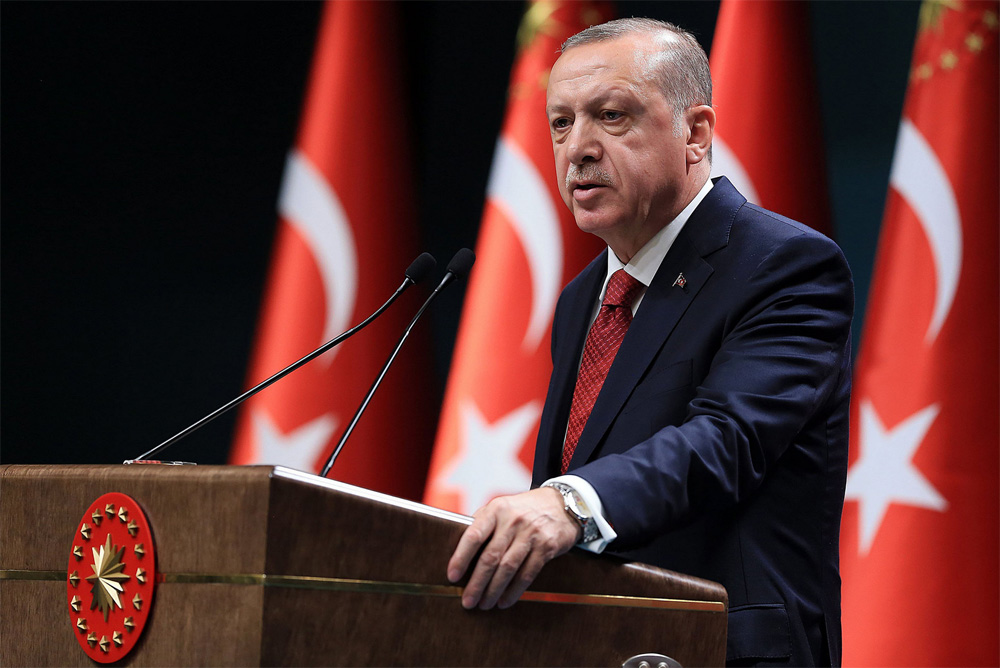
Most important news in the world today from ISTANBUL, Turkey. Ten folks were actually eliminated and also greater than 70 hurt last night when a learn stuffed along with weekend break passengers derailed in north-west Turkey, the health and wellness ministry pointed out. The Anadolu news organization quotation Akdag as pointing out search operations this morning had now been finished at […]
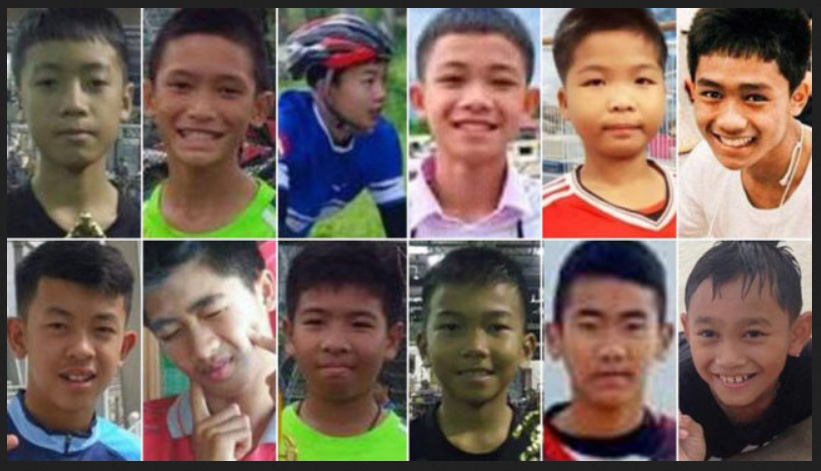
Thailand Kids Trapped in a Cave Have Been…
HakuNoburu | July 9, 2018 | 0
Daily World News Updates foud out that Elon Musk, a tech billionaire is supposedly developing a “child-sized sub” to save loads of teens and also their soccer coach in a Thai cave. Thirteen international divers, as well as 5 participants of Thailand’s best navy TAPE device, are carrying the boys – some as youthful as 11 and weak swimmers – by […]